

How do you calibrate a manual XY stage for semiconductor inspection to achieve repeatable micro adjustment on a semiconductor positioning stage?
I hear this question almost every week. And I get it. Calibration sounds simple. Zero the micrometer. Check the numbers. Done. But in real life, it’s not that easy. I’ve worked in this industry for over 9 years. We build manual and motorized slides, plus automated alignment platforms. I’ve seen stages fail in cleanrooms. I’ve seen wafers scrapped because of 3 µm of drift. So let me give you the real process. No fluff. No textbook talk. Just what works.
Why Calibration Matters More Than You Think
Semiconductor inspection is not like normal inspection. You’re looking at lines thinner than a human hair. A 2 µm error can make a good die look bad. A 5 µm drift can ruin a probe card alignment. I had a customer in Taiwan. He bought a cheap manual XY stage from someone else. He calibrated it once. Then he ran 200 wafers. By wafer 150, his yield dropped 12%. He called me. We checked his stage. Backlash was 8 µm. The lead screw nut was worn. He needed a new semiconductor positioning stage. That mistake cost him more than a new stage would have.
So yes. Calibration matters. But it’s not a one-time thing. It’s a habit. Your manual XY stage is only as good as your last calibration.
What You Need Before You Start
Don’t start until you have these tools. I’m serious. Skipping tools is how you get bad data.
Tools List
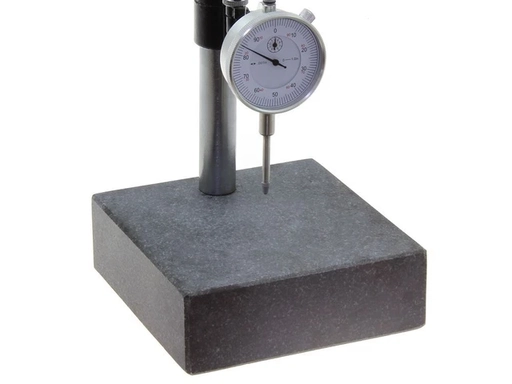
Granite surface plate, Grade A or better
Dial indicator with 0.001 mm resolution
Magnetic base
Test wafer or glass slide with a crosshair
Cleanroom wipes, lint-free
IPA, isopropyl alcohol
Vacuum-compatible grease
Temperature and humidity meter
Calibration log, paper or Excel
Environment Matters
Temperature is a big deal. Steel expands about 11 µm per meter per °C. A 10°C swing moves a 100 mm stage by 1.1 µm. That’s enough to fail semiconductor inspection. Let the stage sit for at least 2 hours in the room. Aim for 20°C ±1°C. Keep humidity below 45%. And vibration? Put your table on isolators. Even a truck driving by can add 1–2 µm of noise.
Step-by-Step Calibration
This is the same process we teach our own technicians. It takes about 45 minutes. Don’t rush.
Step 1: Let the Stage Settle
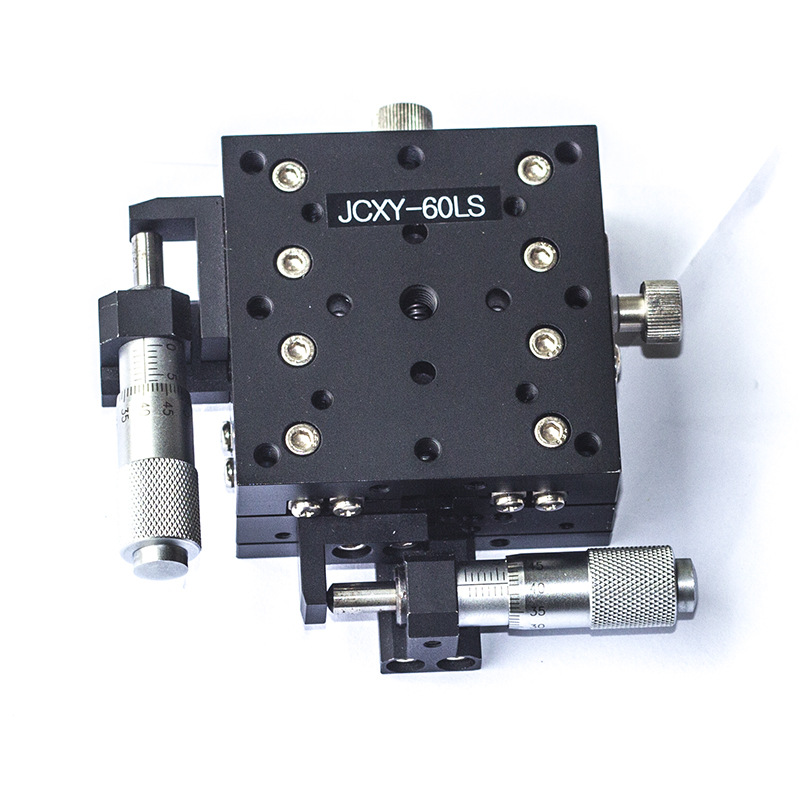
Unbox it. Put it on the granite plate. Do not touch it for 2 hours. I know. You want to start. But thermal equilibrium is real. I’ve seen a stage move 3 µm just from being handled. So wait. Then clean the rails. Use a lint-free wipe with a little IPA. Don’t soak it. Just wipe. Let it dry.
Step 2: Zero and Check Repeatability
Turn both micrometers to mid-travel. Not the end. Why? Because end-of-travel can have different friction. Set your dial indicator against the stage edge. Zero it. Now move X by 10 mm. Then come back to zero. Write down the reading. Do this 5 times. If you see more than 2 µm difference, your manual XY stage needs work. A good semiconductor positioning stage should return within 1 µm. If it doesn’t, check for debris. Then check the preload.
Table 1: Repeatability test example
|
Trial |
Return error (µm) |
|
1 |
0.8 |
|
2 |
1.1 |
|
3 |
0.9 |
|
4 |
1.0 |
|
5 |
1.2 |
|
Average |
1.0 |
That’s good. If your average is 3 µm or more, keep reading.
Step 3: Squareness and Straightness
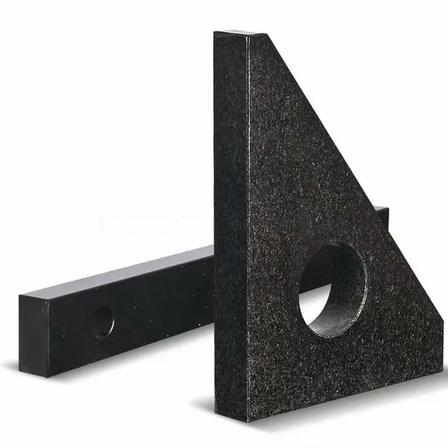
Squareness is how close X and Y are to 90°. If they’re off, your inspection is skewed. Use a granite square or a dial indicator on a magnetic base. Move X and watch the Y reading. If Y moves more than 10 arc-seconds, you have a problem. Straightness is how much the stage wanders up and down. Put the indicator on top of the stage. Move X over 50 mm. The needle should stay within 3 µm. If it swings more, check the rail preload. Or look for a bent lead screw.
Step 4: Backlash – The Silent Killer
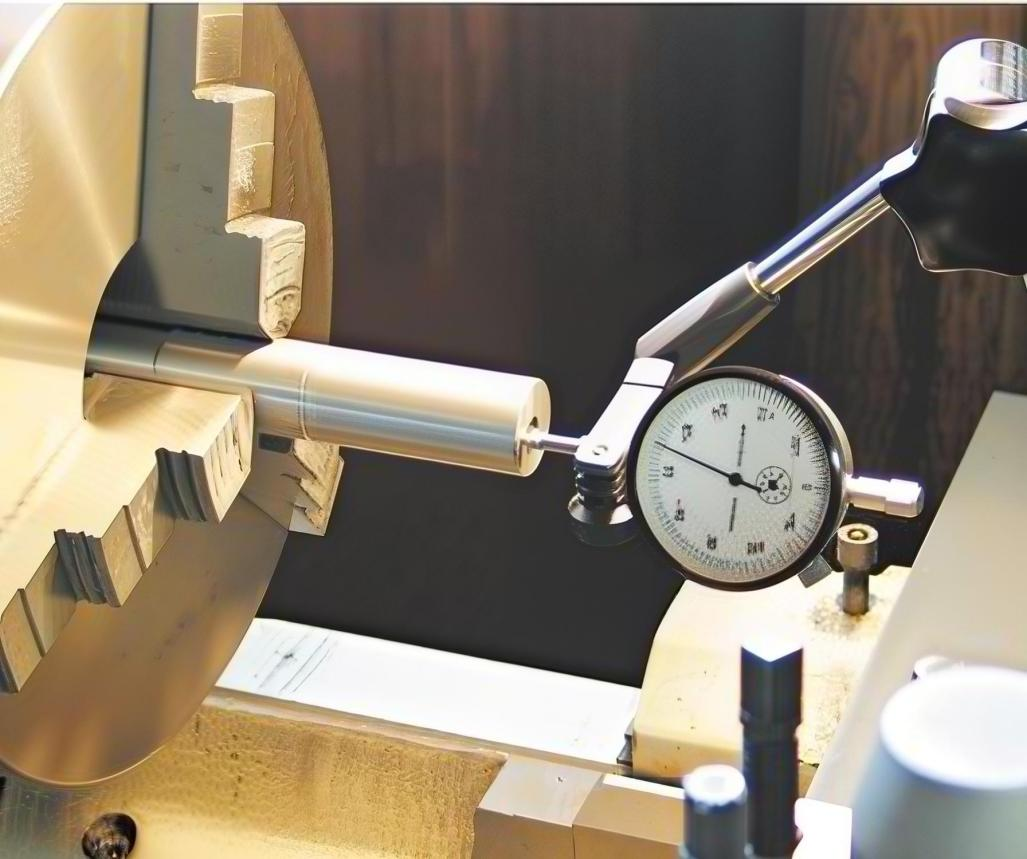
Backlash is lost motion when you reverse direction. This is the number one reason micro adjustment manual stage users get frustrated. Approach a point from the left. Zero the indicator. Then move 0.1 mm to the right. Then come back to zero from the right. The difference is backlash. Do this 10 times. Average the results. Target: less than 2 µm. If you get 5 µm or more, the lead screw or nut is worn. You can try adjusting the nut. But often, you need a new manual XY stage.
Table 2: Backlash test results
|
Test # |
From left (µm) |
From right (µm) |
Difference (µm) |
|
1 |
0 |
1.5 |
1.5 |
|
2 |
0 |
2.0 |
2.0 |
|
3 |
0 |
1.0 |
1.0 |
|
4 |
0 |
1.8 |
1.8 |
|
5 |
0 |
1.2 |
1.2 |
|
6 |
0 |
1.6 |
1.6 |
|
7 |
0 |
1.4 |
1.4 |
|
8 |
0 |
1.9 |
1.9 |
|
9 |
0 |
1.3 |
1.3 |
|
10 |
0 |
1.7 |
1.7 |
|
Average |
0 |
1.54 |
1.54 |
That’s acceptable. If your average is 4 µm, stop. Fix it before you inspect anything.
Step 5: Preload and Locking
Most manual XY stages have a preload screw or a locking lever. Do not overtighten. I mean it. Overtightening kills micro adjustment. It makes the stage jump. A good rule: turn the preload screw until you feel slight resistance. Then back off 1/8 turn. Test with the micrometer. You want smooth motion. No stick-slip. If you have a locking mechanism, engage it after each move. That prevents drift during semiconductor inspection. I’ve seen people skip the lock. Then they wonder why their image shifts after 10 minutes. Lock it.
Step 6: Test Wafer Verification
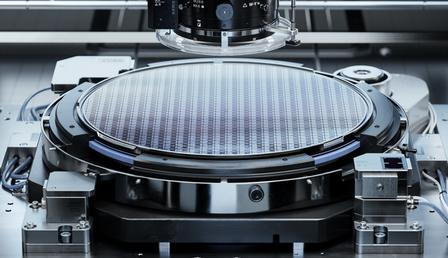
Place a test wafer on the stage. Use a microscope with a crosshair. Pick a feature. Move away 20 mm. Come back. Measure the error. Do this 20 times. Calculate the standard deviation. For semiconductor inspection, you want 3-sigma repeatability under ±1.5 µm. If your manual XY stage fails, recheck steps 1 to 5. Sometimes a small particle on the rail is the culprit. Sometimes it’s the micrometer. Sometimes it’s you. Be honest.
Step 7: Document Everything
Write it down. Date, temperature, humidity, operator, and all readings. Keep a log for each semiconductor positioning stage. This helps you spot trends. If repeatability gets worse over 3 months, you know it’s time for maintenance. A simple Excel sheet works. We give our customers a free calibration log template. Just contact us.
Manual XY Stage vs Motorized XY Stage – Which One Do You Actually Need?
This is a debate I have every week. Both have a place. A manual XY stage is simple, low cost, and has no electronics. It’s great for R&D, low-volume inspection, and cleanrooms. A motorized XY stage is faster, programmable, and better for high-volume production. But motorized stages cost more. They need controllers. They generate heat and vibration. For semiconductor inspection, many labs use a manual XY stage for setup and a motorized stage for scanning. It depends on your budget and throughput.
Table 3: Manual XY stage vs motorized XY stage
| Feature | Manual XY stage | Motorized XY stage |
| Cost | Low ($500–$2,000) | High ($3,000–$15,000+) |
| Repeatability | ±1 µm (with good calibration) | ±0.5 µm or better |
| Speed | Slow | Fast |
| Automation | No | Yes |
| Heat generation | None | Some |
| Vibration | Very low | Higher |
| Best for | R&D, low volume, cleanroom | Production, high volume |
| Maintenance | Simple | Complex |
| Programming | No | Yes |
If you’re not sure, ask us. We make both types. We can help you pick the right semiconductor positioning stage for your inspection line. I’ll give you a straight answer. No sales pitch.
Common Mistakes I See Every Week
Let me save you some pain. Here are the mistakes I see over and over.
Mistake 1: Calibrating in a hot room. Fix: wait for stable temperature.
Mistake 2: Using a dirty stage. Fix: clean rails with lint-free wipe and IPA.
Mistake 3: Overtightening the preload. Fix: follow the 1/8 turn rule.
Mistake 4: Ignoring backlash. Fix: measure it every month.
Mistake 5: Using the wrong grease. Fix: use vacuum-compatible grease for cleanrooms.
Mistake 6: Not locking the stage. Fix: engage the lock before inspection.
Mistake 7: Skipping documentation. Fix: keep a log.
Mistake 8: Using a micrometer as a clamp. Fix: never force it. You’ll bend the screw.
Mistake 9: Assuming new means calibrated. Fix: always check a new manual XY stage before use.
Mistake 10: Forgetting to check squareness. Fix: do it every 6 months.
How to Choose a Semiconductor Positioning Stage
Look at these specs. Don’t just buy on price.
Travel range: 50 x 50 mm is common. 100 x 100 mm for larger wafers.
Load capacity: 5 kg to 20 kg.
Resolution: 0.5 µm or better for micro adjustment manual stage.
Material: aluminum or stainless steel. Stainless is better for cleanrooms.
Bearings: crossed roller bearings give high rigidity. Ball bearings are cheaper.
Micrometer type: top-mounted or side-mounted. Top-mounted is easier to read.
Vacuum compatibility: needed for some semiconductor inspection tools.
We have over 9 years of experience. We can customize travel, mounting, and micrometer position. Send us your drawing. We will quote within 24 hours.
Maintenance Schedule for Your Micro Adjustment Manual Stage
Table 4: Recommended maintenance schedule
|
Task |
Frequency |
Action |
|
Clean rails |
Weekly |
Wipe with IPA and lint-free cloth |
|
Check backlash |
Monthly |
Use dial indicator, target <2 µm |
|
Lubricate lead screw |
Every 3 months |
Use vacuum-compatible grease |
|
Check squareness |
Every 6 months |
Use granite square |
|
Full calibration |
Every 12 months |
Follow this guide |
|
Replace worn nut |
As needed |
Contact us for parts |
FAQ
Q: How do you calibrate a manual XY stage for semiconductor inspection to achieve repeatable micro adjustment on a semiconductor positioning stage?
A: Follow the 7 steps above. Let it settle, zero micrometers, check squareness, measure backlash, adjust preload, verify with test wafer, and document. Repeat every 12 months.
Q: Can I use a manual XY stage in a cleanroom?
A: Yes, if it is vacuum-compatible. Look for stainless steel and cleanroom grease.
Q: What is the difference between resolution and repeatability?
A: Resolution is the smallest step you can read. Repeatability is how well you return to the same spot. For semiconductor inspection, repeatability matters more.
Q: How often should I calibrate?
A: Every 12 months for normal use. Every 6 months for high-volume semiconductor inspection.
Q: Do you offer custom manual XY stages?
A: Yes. We have 9+ years of experience. We can build to your specs. Contact us for a quote.
Q: My stage has 5 µm backlash. Can I fix it?
A: Maybe. Try adjusting the nut. If it doesn’t help, the screw is worn. You likely need a new micro adjustment manual stage.
Q: What grease should I use?
A: For cleanrooms, use a vacuum-compatible grease like Krytox or equivalent. Never use WD-40.
Q: How do I know if my stage is square?
A: Use a granite square and a dial indicator. If Y moves more than 10 arc-seconds when you move X, it’s not square.
Q: Can I calibrate a manual XY stage without a granite plate?
A: You can try. But your numbers will be off. A granite plate gives you a flat reference. Without it, you’re guessing.
Q: How long does calibration take?
A: About 45 minutes if you have the tools. Add 2 hours for thermal settling. So plan for half a day.
Let’s Talk – We Can Help
Calibration is not hard. But it takes patience. If your manual XY stage still fails, maybe it’s time for an upgrade. We are a professional manufacturer of manual and motorized slides, and automated alignment platforms. We offer a full range of manual and motorized positioning stages. Whether you need a micro adjustment manual stage or a semiconductor positioning stage, we can help. Send us an email or call us. Let’s improve your semiconductor inspection yield together.
Thank you for reading. Want our free calibration checklist? Contact us today. We’ll send it over. No strings attached.
Post time: Oct-12-2026


